How to Plant a Spectacular Basket (Video, 3:08)
By Pamela Crawford
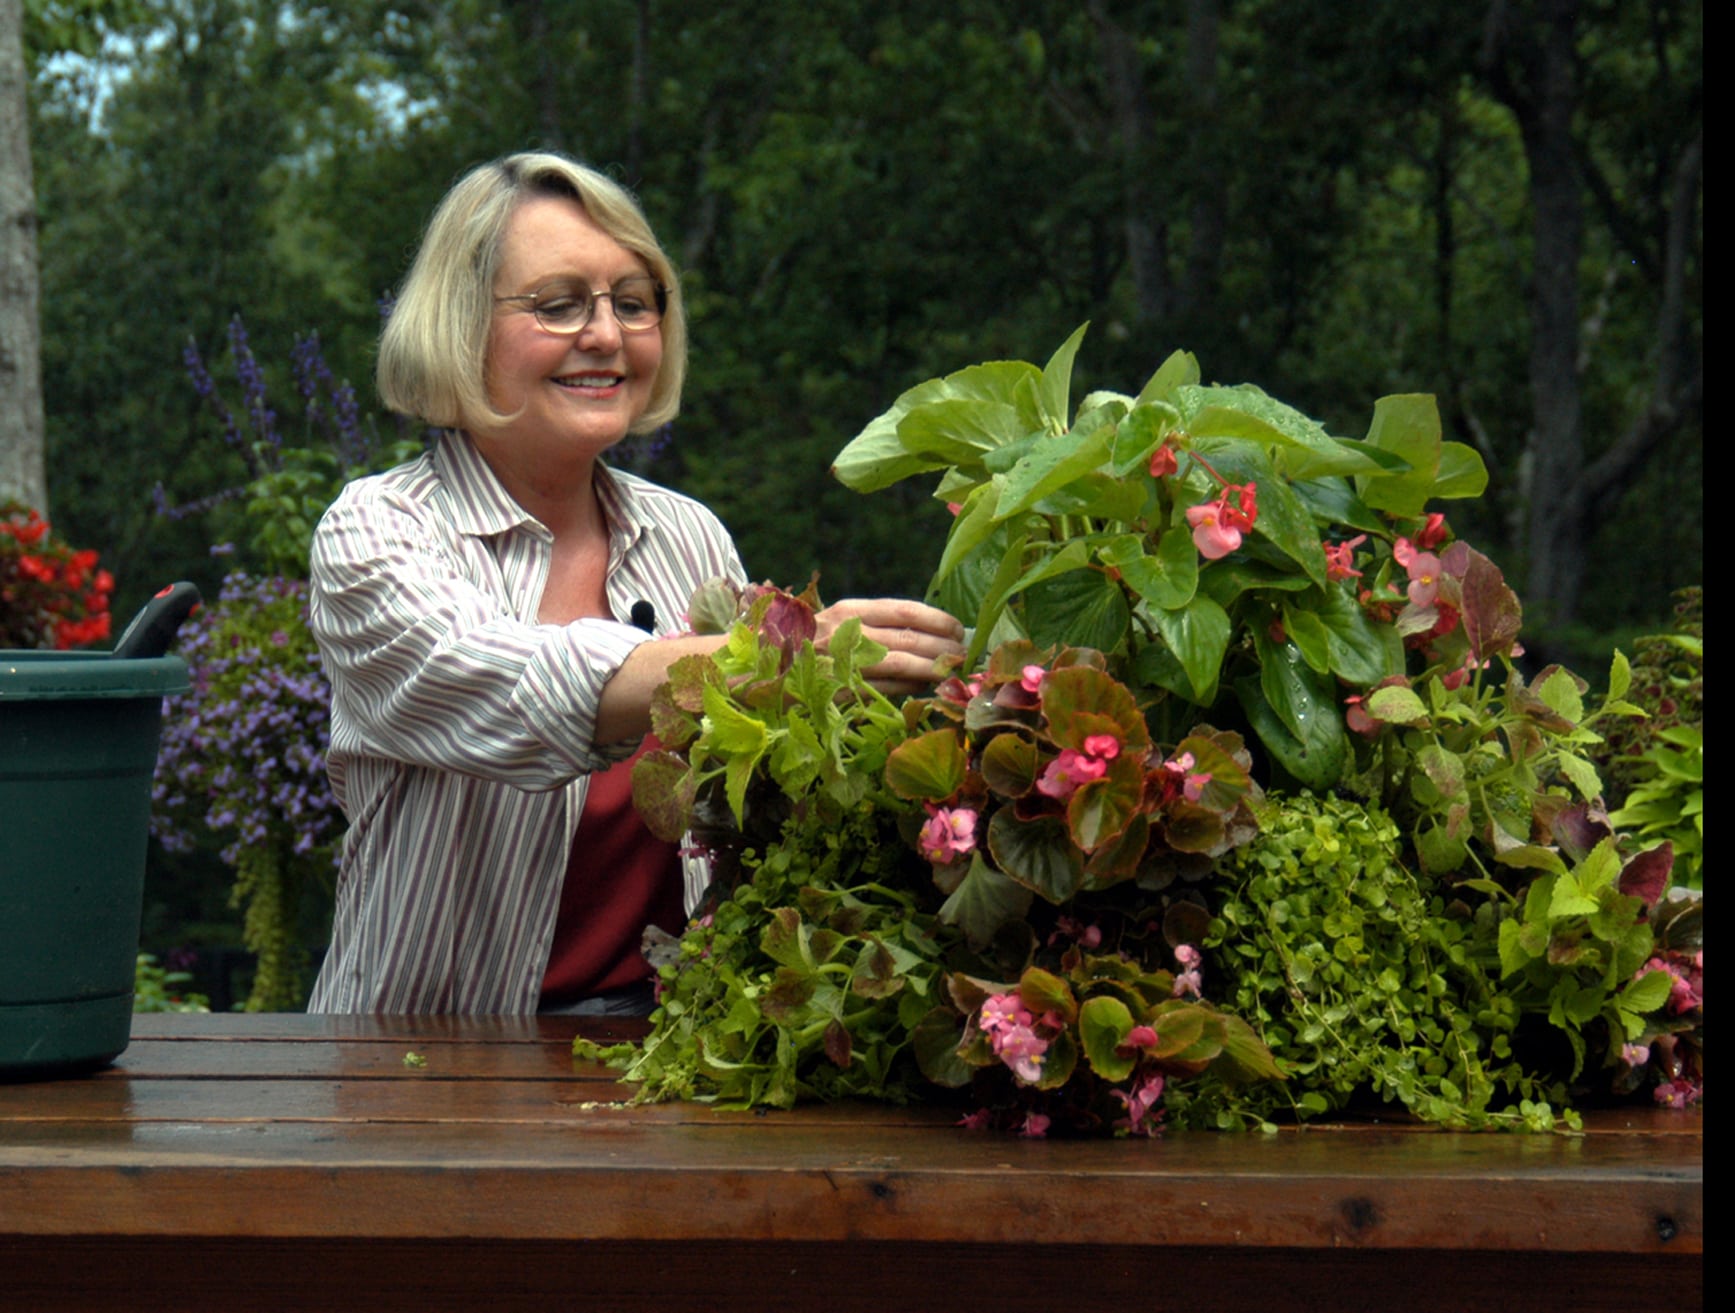
Learn how to plant a spectacular basket that looks like a ball of flowers immediately. Pamela Crawford teaches you her unique side-planting system in this informative video. Your hanging basket will look like an award-winning container garden!
Step 1: Add potting mix up to the bottom of the first hole. I prefer dry mix, while others prefer it wet. Using wet potting mix minimizes its loss through the holes while you are planting. Since this loss is minimal, I use the dry mix because it weighs less, making it easier to move the container after planting.
Step 2: Remove the first side plant from its pot. Just turn the pot upside down and pull the pot off.
Step 3: Dip the roots in water, and keep them submerged until they are completely saturated. If you see bubbles in the water, they are not yet saturated. Remove the plant, and squeeze the root ball 3 to 6 times – very firmly – until most of the water has dripped out.
Step 4: The root ball should be firm, not falling apart. If it still feels loose, squeeze it some more, until it is quite firm. (If some small pieces break off, that is ok – these are tough plants! I have had some root balls fall completely apart. I thought they would die, but planted them anyway, and they did just fine!)
Step 5: Push the root ball through the first hole, from the outside in. Don’t worry if some potting mix falls off the root ball. That is normal.
Step 6: Be sure the plant is on the outside of the container and the roots are on the inside. Adjust the flap so it fits in between the roots and the plant.
Step 7: You will see some open space between the plant and the top of the hole. That is normal. Very little potting mix escapes from this opening because the roots grow together quickly, forming a solid mass.
Step 8: Alternate the three small plants around the sides. Fertilize.*
(After I finish each layer, I wash off the table and the plants to remove any unwanted dirt. Be gentle with the plants!)
Step 9: After planting the sides, remove the growing pot from the centerpiece, and put the plant in the middle of the new container. Measure with your fingers to see how much potting mix you need to bring the top of the centerpiece to about 1/2” above the top edge of container.
Step 10: Take the centerpiece out and add the necessary potting mix.
Step 11: Place the centerpiece in the middle of the pot, on top of the potting mix you just added. Add more potting mix around the centerpiece to bring the potting mix up to about 2” below the rim of the pot.
Step 12: After soaking the first edge plant in water and squeezing it, place it over a different plant – at an angle so it leans slightly over the edge. You don’t need to squeeze the plant as much for the edge as you did for the sides. A larger root ball fits well here. Continue alternating plants until the edge is planted.
Step 13: Look between the root balls for any empty spots.
Step 14: Add potting mix between the root balls, as well as on any exposed roots, and pat it down slightly. Don’t pile the potting mix up around the stems!
Wash the plants off very softly with the hose to remove any dirt from the leaves and stems.
Step 15: Fertilize.*
Step 16: Move your finished container to its chosen spot. Do not water it for at least 3 days because the roots are already soaked. After the first watering, add more potting mix with your fingers to fill in any spaces that appear between the plants.
Pamela Crawford designs unique planters for kinsmangarden.com and writes gardening books. She is considered one of the best-known container garden professionals in the United States. This video is appropriate for all of that area.
She also designs landscapes in Palm Beach County, Florida. This video is appropriate throughout Pamela’s service area, including Boca Raton landscapes, town of Palm Beach landscapes, Palm Beach Gardens landscapes, Jupiter landscapes, and Wellington landscapes. These subtropical areas have some of the longest growing seasons for annuals in the continental United States and are ideal for container gardens.
This article is taken from ‘Instant Container Gardens’ by Pamela Crawford.
Copyright ©2007, Color Garden, Inc.
All rights reserved. No part of this publication may be reproduced or transmitted in any form or by any means, electronic or mechanical, including photocopy, recording, internet, or any other information storage and retrieval system, without prior permission in writing from the publisher.